Build a Tool Shed Series: Building a Gable-End Wall, Pt. 2
Install the window, trim, and shingles to the gable-end wall then lift it into place
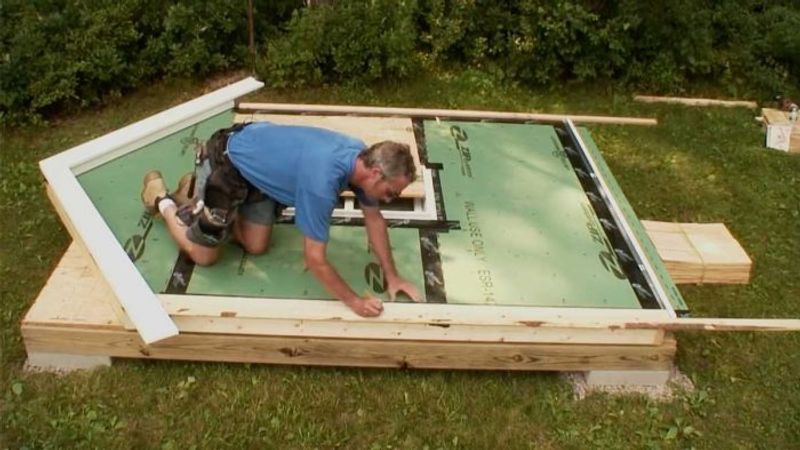
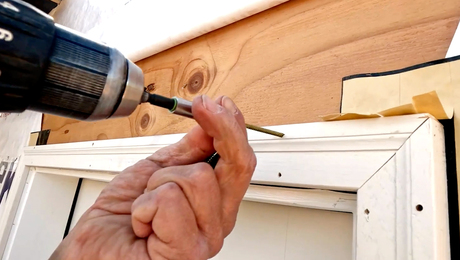
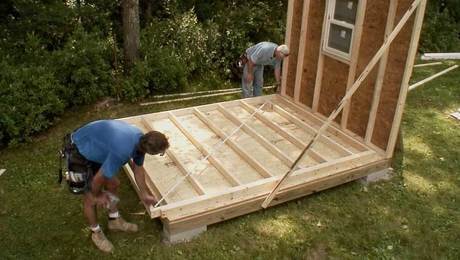
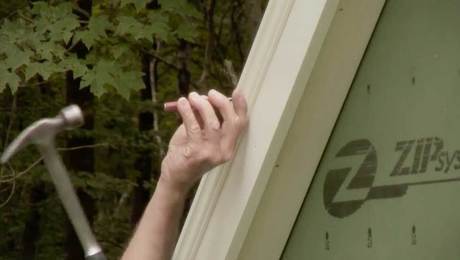
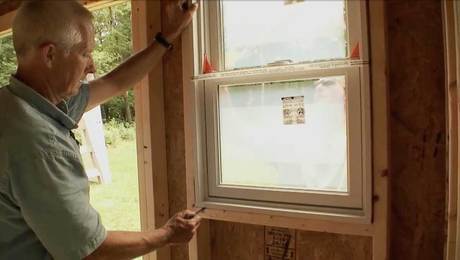
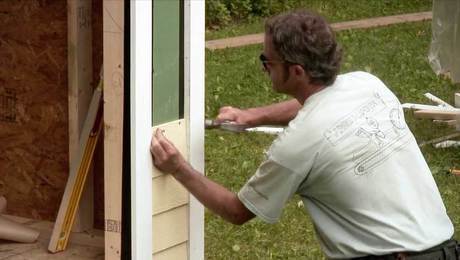
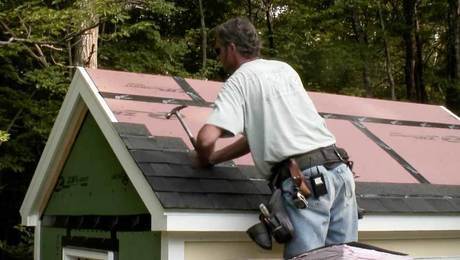
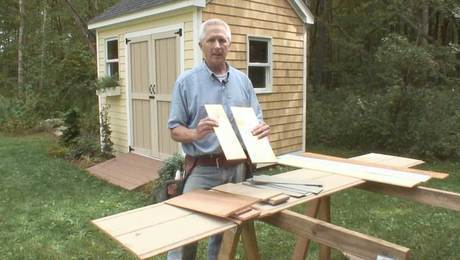
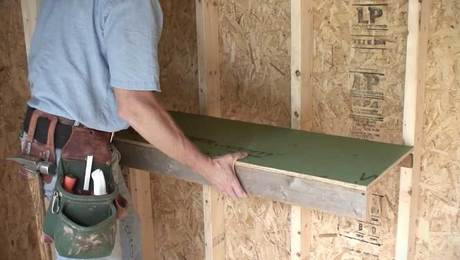
This part two of Building a Gable-End Wall covers how to connect the trim to the wall, installing and flashing the window, and shingling the entire wall. Rick Arnold demonstrates how what could be a daunting process, is in fact, very simple when constructing the entire wall on the ground. However, despite being simple, the gable-end design allows for better rain shedding than a flat roof, and is an easy way to add a little more style to a small structure.
Videos in the Series
-
 Introduction: How to Build a Simple but Sturdy Tool Shed
 -
 Build a Tool Shed Series: Install a Block Foundation
 -
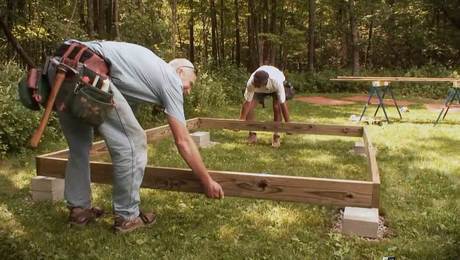
 Shed Floor Framing Basics
 -
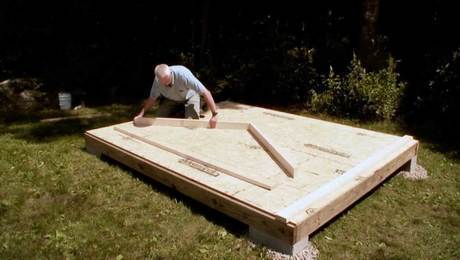 Build a Tool Shed Series: Building a Gable-End Wall, Pt. 1
 -
 Build a Tool Shed Series: Building a Gable-End Wall, Pt. 2
 -
 Build a Tool Shed Series: Building the Bearing Walls
 -
 Build a Tool Shed Series: Build the Roof (Part 1)
 -
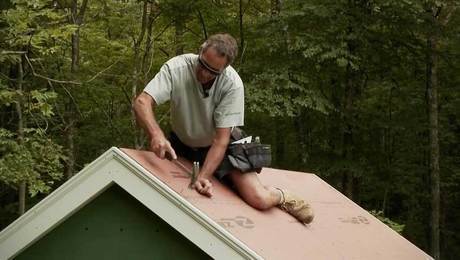 Build a Tool Shed Series: Build the Roof (Part 2)
 -
 Installing Trim on a Simple Tool Shed
 -
 Build a Tool Shed Series: Installing Windows and Doors
 -
 Build a Tool Shed Series: Installing Lap and Shingle Siding
 -
 Build a Tool Shed Series: Install Architectural Shingles
 -
 Build a Tool Shed Series: Foundation System
 -
 Build a Tool Shed Series: Siding Options
 -
 Build a Tool Shed Series: Accessorize Your Shed
 -
 Build a Tool Shed Series: Shelving and Storage Options
 -
 Build a Tool Shed Series: Landscaping Completes the Look
 -
 Shortcuts to a Shed